From the DAC menu bar, choose Tools > DAC Repository Management > Import.
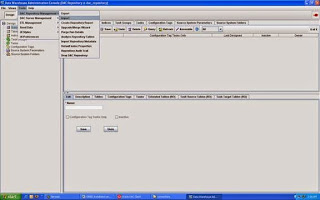
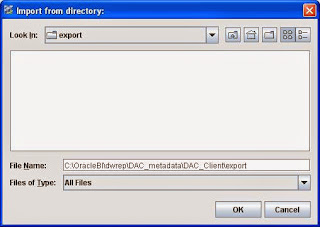
In the Import dialog screen, change the import folder to the directory where DAC metadata is installed; for example, C:\OracleBI\dwrep\DAC_metadata\DAC_Client\export
Click OK
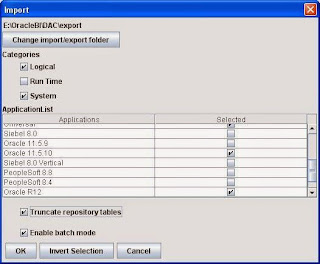
From the ApplicationList, select Oracle R12, Oracle 11.5.10 and Universal. You can also select other applications such as Siebel 7.8. Just use the check boxes in the Selected column to the select the business applications that you want to deploy.
Also check both the 'Truncate repository tables' and 'Enable batch mode' boxes. Click OK
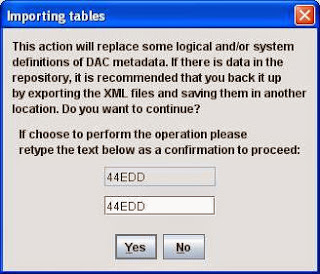
Retype the text to confirm the importing operation. Click Yes
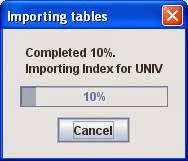
Screen shows the progress of importing tables
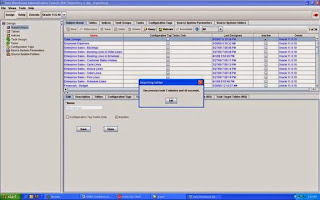
When finished, the message 'Import Finished' is displayed. Click OK
Note: This can take as long as 1 hour.
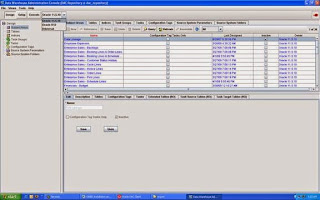
Click on the Application List to verify the imported Applications
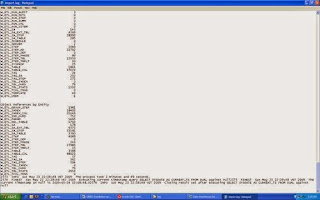
Check the log file for details; for example, D:\oracle\DAC101341\bifoundation\dac\log\import.log
Comments
Post a Comment