E-biz R12 INSTALLATION
1.1 Server Configuration
IP : 192.168.1.141
Name : kashif.orafact.com
RAM : 2GB
Swap : 4GB
Platform : Oracle Enterprise Linux 5 – 64bit
1.2 Prerequisites
Editing Hosts file
Verify the /etc/hosts file
[root@rac1 ~]# vi /etc/hosts
# Do not remove the following line, or various programs
# that require network functionality will fail.
127.0.0.1 localhost.localdomain localhost
192.168.1.141 kashif.orafact.com rac1
Installing Patches
Verify the Below RPM patches
[root@rac1 ]# rpm -qa binutils*
[root@rac1 ]# rpm -qa control-center*
[root@rac1 ]# rpm -qa gcc*
[root@rac1 ]# rpm -qa glibc*
[root@rac1 ]# rpm -qa libstdc*
[root@rac1 ]# rpm -qa libgcc*
[root@rac1 ]# rpm -qa make*
[root@rac1 ]# rpm -qa setarch*
[root@rac1 ]# rpm -qa sysstat*
[root@rac1 ]# rpm -qa libaio*
Install missing RPM patches
[root@rac1 ]# rpm -Uvh compat-glibc-2.3.4-2.26.i386.rpm
[root@rac1 ]# rpm -Uvh compat-glibc-headers-2.3.4-2.26.x86_64.rpm
[root@rac1 ]# rpm -Uvh libXp-1.0.0-8.1.el5.i386.rpm
[root@rac1 ]# rpm -Uvh openmotif21-2.1.30-11.EL5.i386.rpm
[root@rac1 ]# rpm -Uvh xorg-x11-libs-compat-6.8.2-1.EL.33.0.1.i386.rpm
Editing Kernel Parameters
Add necessary kernel parameters
[root@rac1 ~]# vi /etc/sysctl.conf
kernel.sem=256 32000 100 142
kernel.shmall=2097152
kernel.shmmax=2147483648
kernel.shmmni=4096
kernel.msgmax=8192
kernel.msgmnb=65535
kernel.msgmni=2878
fs.file-max=131072
net.ipv4.ip_local_port_range=10000 65000
net.core.rmem_default=262144
net.core.rmem_max=4194304
net.core.wmem_default=262144
net.core.wmem_max=262144
[root@rac1 ~]# sysctl -p
Modifying Limitations
Add Necessary Hardware and Software Limitations
[root@rac1 ~]# vi etc/security/limits.conf
* hard nofile 65535
* soft nofile 4096
* hard nproc 16384
* soft nproc 2047
Linking Library file
Link to Motif library in Oracle Application Server
[root@rac1 ~]# unlink /usr/lib/libXtst.so.6
[root@rac1 ~]# ln -s /usr/X11R6/lib/libXtst.so.6.1 /usr/lib/libXtst.so.6
1.3 Creating Group and Users
Create group and users for apps and oracle home
[root@rac1 d01]# groupadd dba
[root@rac1 d01]# useradd -g dba -d /d01/applsun applsun
[ root@rac1 d01]# passwd applsun
[root@rac1 d01]# useradd -g dba -d /d01/orasun orasun
[root@rac1 d01]# passwd orasun
Changing Permissions
Grant the permission for created user directories
[root@rac1 d01]# chmod -R 777 applsun
[root@rac1 d01]# chmod -R 777 orasun
[root@rac1 ~]# xhost +
access control disabled, clients can connect from any host
1.4 Installing Apps Software
Install the Oracle Apps Software using rapid install wizard
[root@rac1 rapidwiz]# ./rapidwiz
Rapid Install Wizard is validating your file system......
4 dvd labels found
Rapid Install Wizard will now launch the Java Interface.....
Welcome screen: Click Next
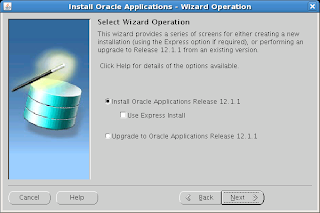
Select Install Oracle Applications Release 12.1.1 and Click Next
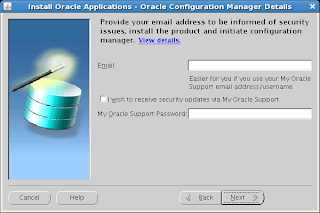
Specify Email ID, Password and Click Next
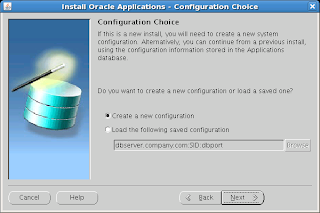
Select Create a new configuration and Click Next
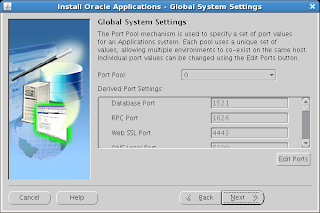
Select port and Click Next
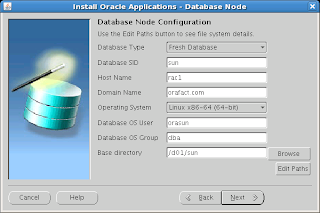
Specify Database type, SID and other information then Click Next
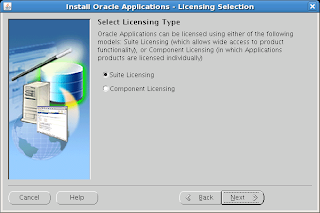
Select Suite Licensing and Click Next
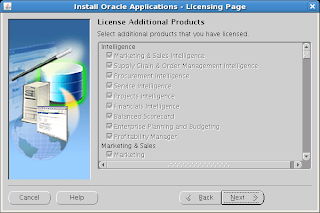
Select Additional product and Click Next
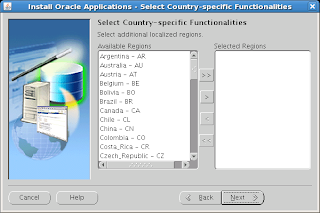
Select Country-specific Functionalities ans Click Next
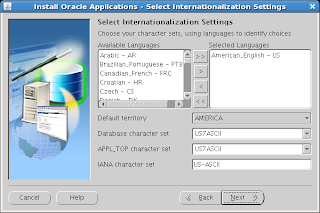
Select Internationalization settings and Click Next
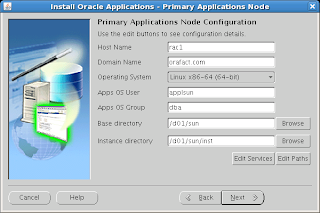
Specify Node configuration and Click Next
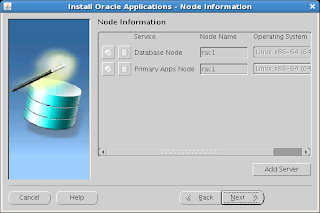
Node Information: Click Next
Verification.......
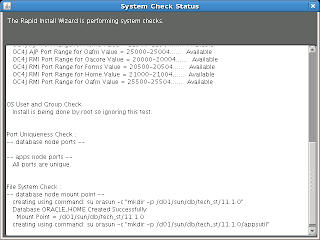
Click Next
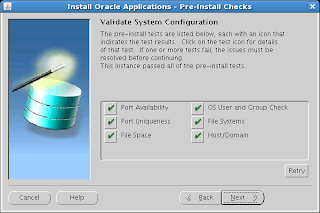
Click Next
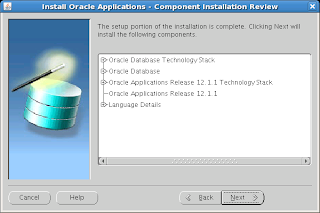
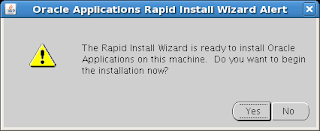
Click Yes to Confirm
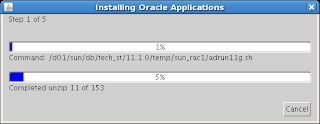
Post-install check results some errors. Fix the errors and Click Retry
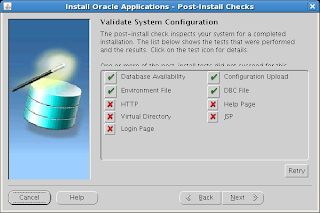
To fix Errors Link library
[root@rac1 ~]$ ln -s /usr/lib/libgdbm.so.2.0.0 /usr/lib/libdb.so.2
connect to apps user, stop all services and start all the services again
[applsun@rac1 ~]$ cd /d01/sun/inst/apps/sun_rac1/admin/scripts/
[applsun@rac1 scripts]$ ./adstpall.sh apps/apps
[applsun@rac1 scripts]$ ./adstrtal.sh apps/apps
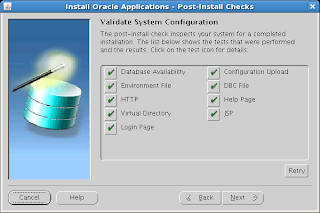
Click Finish to complete
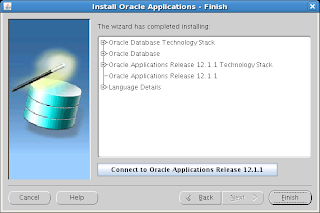
Oracle Apps R12(12.1.1) Installation Completed Successfully

Comments
Post a Comment