Scheduling is a very important feature for any reporting system, which enables you to schedule long-running reports, to be run at a specified time and date. This enables you to select a time and date at which the load on the system is low, to run your daily/weekly and/or monthly reports. In this topic, you configure the BI Publisher scheduler to schedule the reports and view the report history and saved output.
Configuring the BI Publisher Scheduler
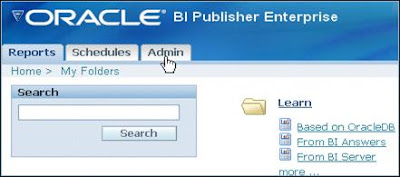
Click Admin to go to the Admin tabbed page.

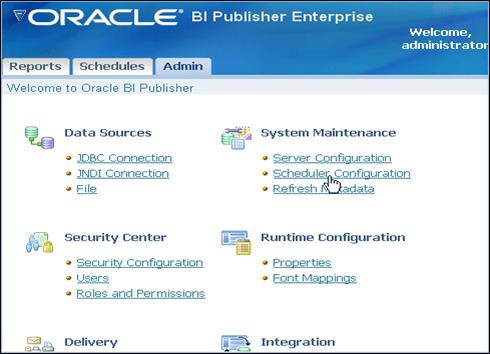
On the Admin tabbed page, click the Scheduler Configuration link in the System Maintenance section.

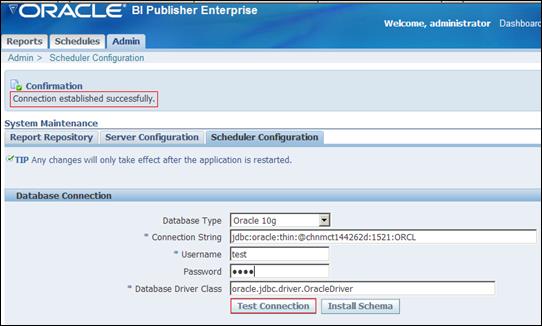
On the Scheduler Configuration page: Select Oracle 10g from the Database Type drop-down list. Enter Connection String in the format:
jdbc:oracle:thin:@<Host name>: <Port>:<SID>
for example, a sample connection string may look like:
jdbc:oracle:thin:@myhost:1521:orcl
Enter the Username and Password credentials (this is the scheduler user that you must have created as per step 4 of the prerequisites).
Ensure that oracle.jdbc.driver.OracleDriver is selected as Database Driver Class.
Click Test Connection.

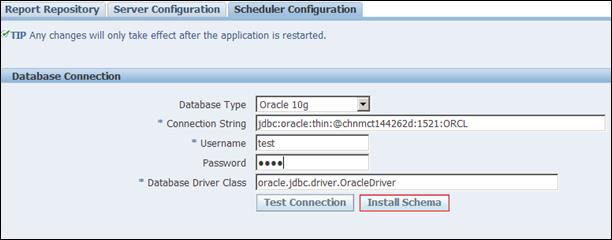
Click Install Schema to install the required scheduler schema tables.

After the tables are installed in the database, the below message is displayed:

Restart BI Publisher Server or the OC4J service after this configuration.
Comments
Post a Comment